In first article http://2tech.ca/set-up-disaster-recovery-for-physical-on-premises-vms-to-azure-using-backup-and-site-recovery-oms-services-part1/
we outlined steps how to enable replication of local server to Azure.
In this second article, we will show you how to activate replicated VM in Azure.
We recommend creating Monitoring VM in the replicated subnet in Azure.
After you migrated VM, you will not be able to access migrated VM from outside. You will need to set up Public IPs and NSG which is not covered by this article. So we are going to create one VM in the same subnet to access migrated VMs using RDP.
Also, you have to be sure that RDP is enabled on all on-premises servers.
Run a Test Failover to Azure
We are going to initiate test failover from an on-premises server to Azure.
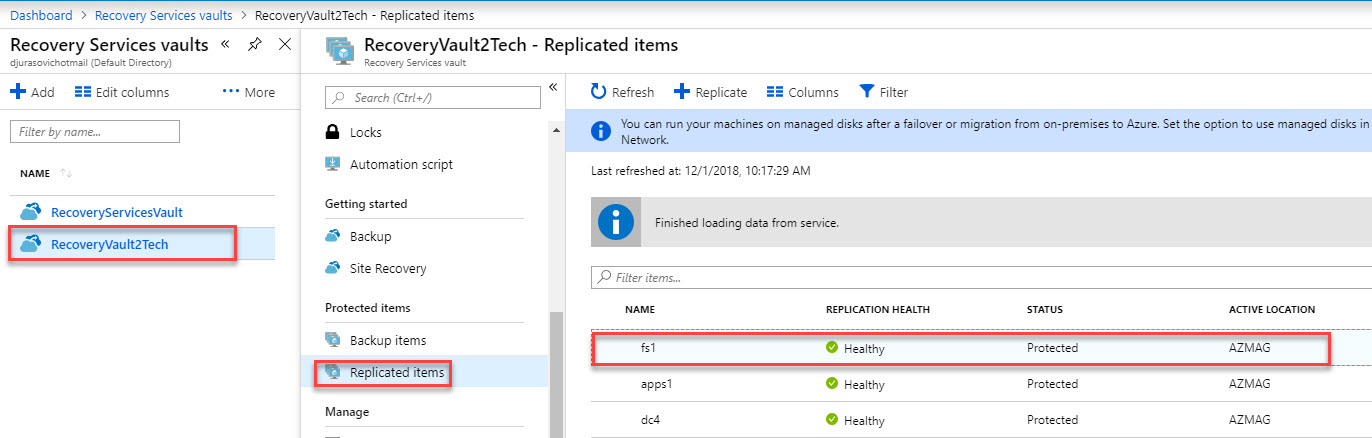
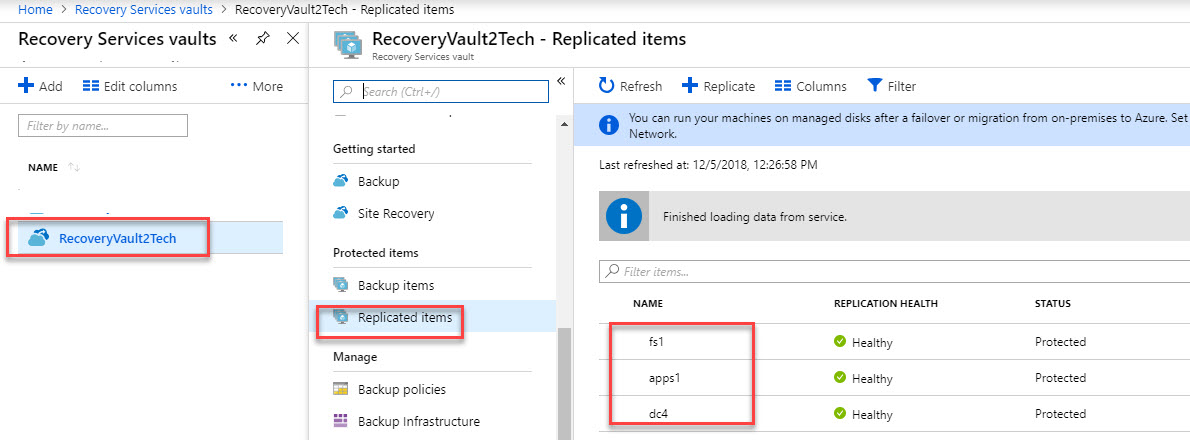
In Settings > Replicated items, click the VM
Click on Compute and Network.
Check VM size. Azure automatically calculated the size of VM after migration 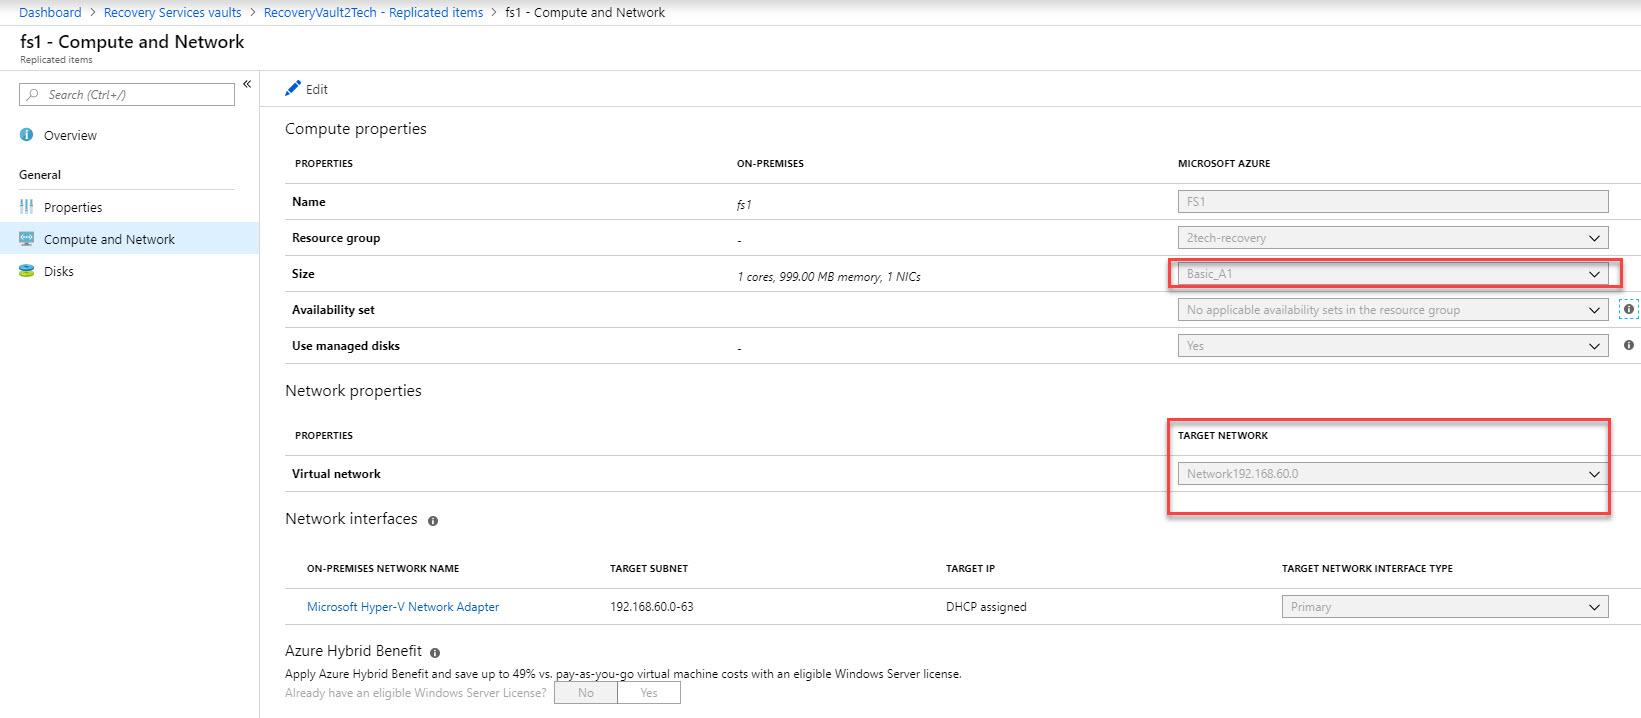
Check Disk size. Azure automatically calculated the size of DISK after migration

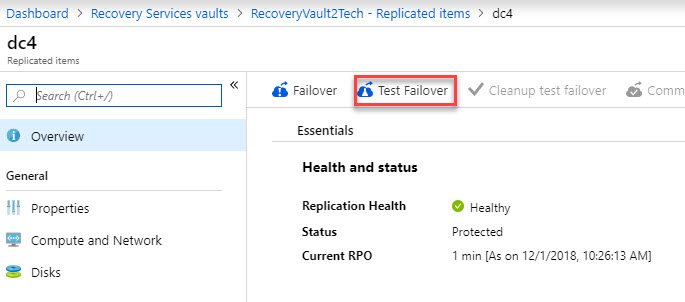
Select Test Failover
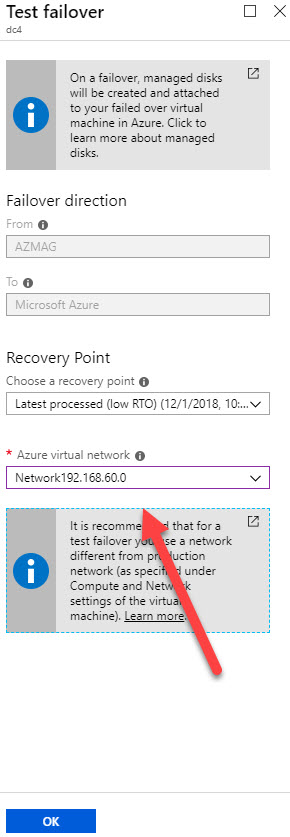
Test Failover, select a Recovery Point to fail over to.
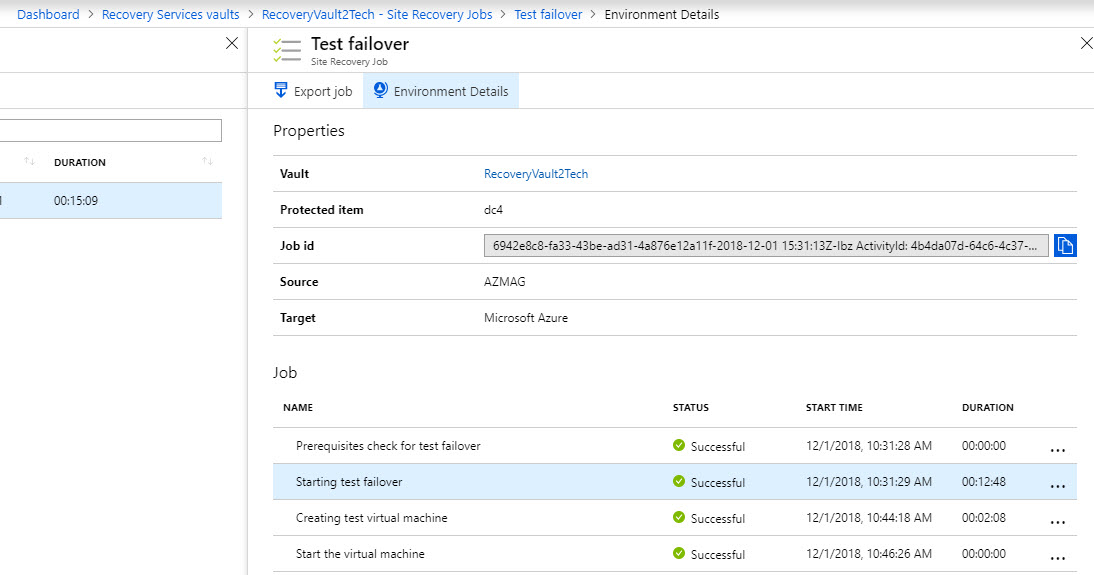
Navigate to Recovery Vault\Site Recovery Job to check the status of the test.
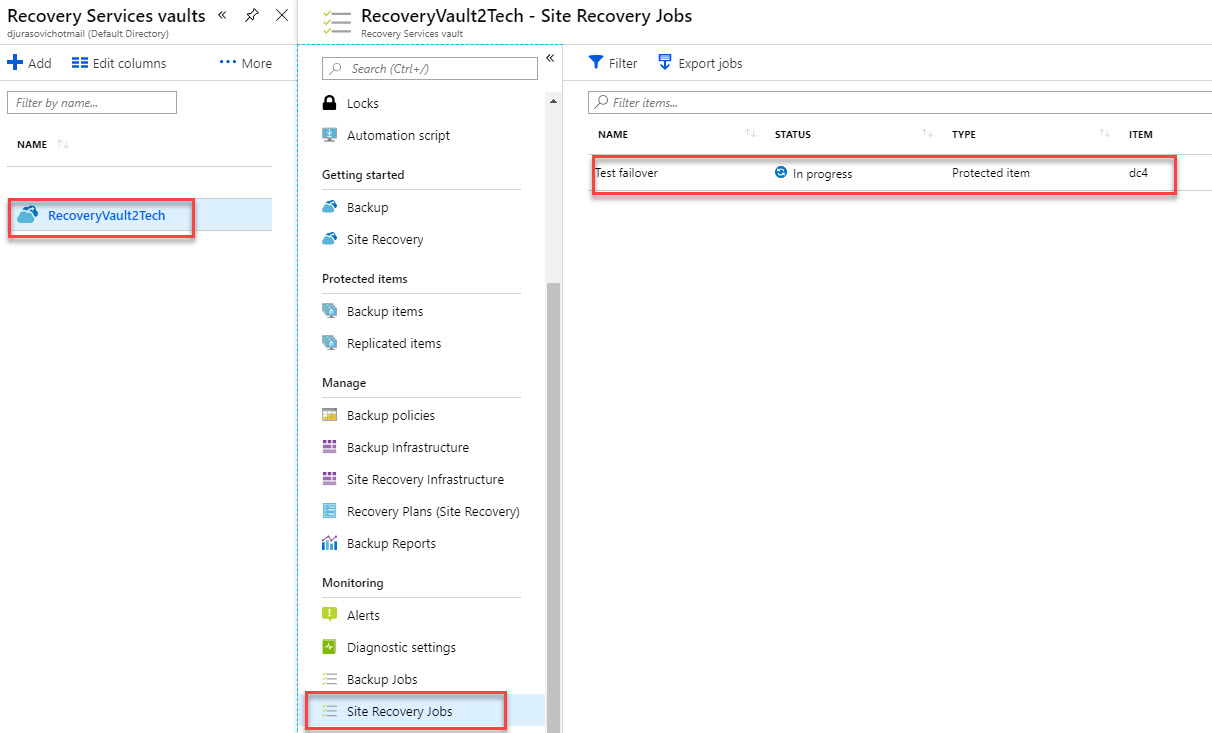
After selecting Test Failover you will see a status of all job and steps related to Test Failover.
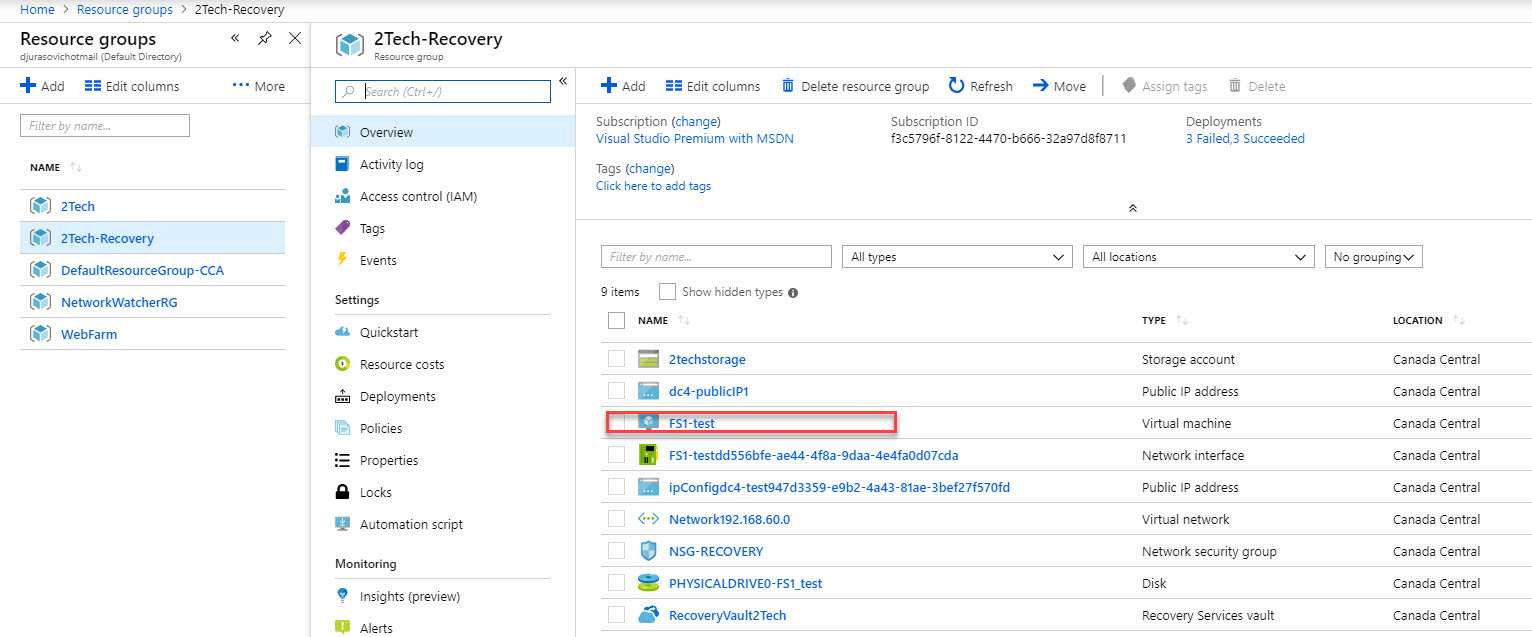
Navigate to your resource group and you will see newly created VM
Connect to failed over a virtual machine in Azure
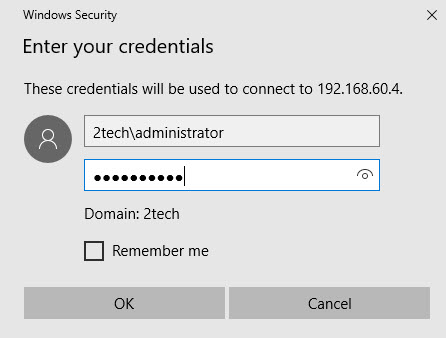
Go to Properties on VMa and pick up PrivateIP
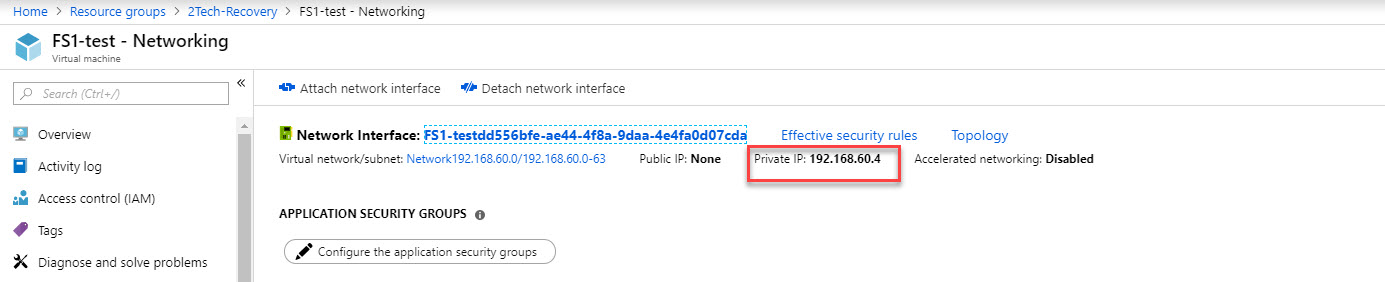
Login to Monitoring VM you created on the beginning of this article. Run RDP and connect to migrated VM using Private IP
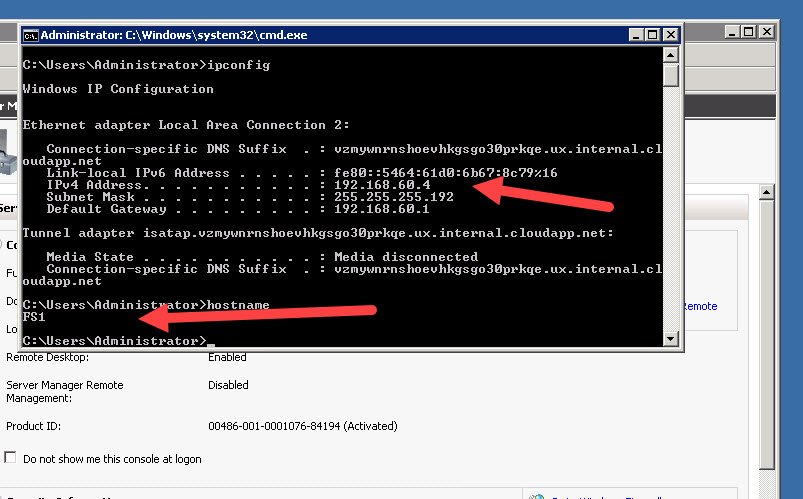
Here we are. We are at migrated VM. Check all VMs before we initiate failover.
In Settings > Replicated items, click the VM where you tested failover
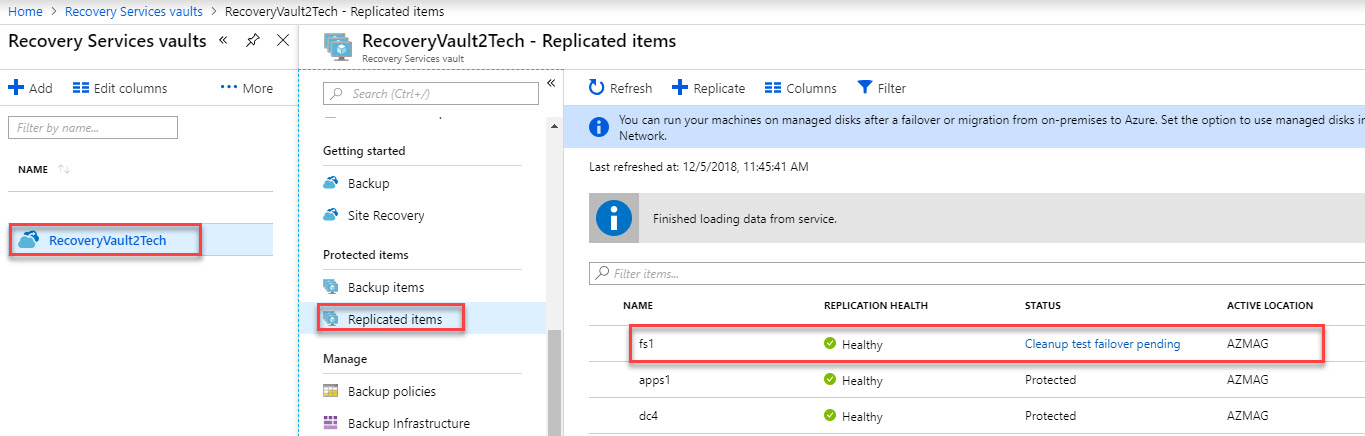
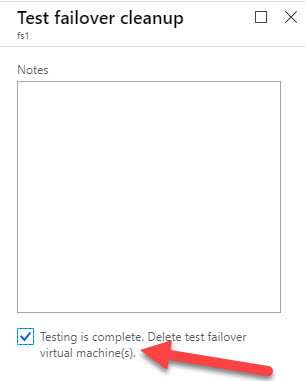
Select Cleanup test failover.
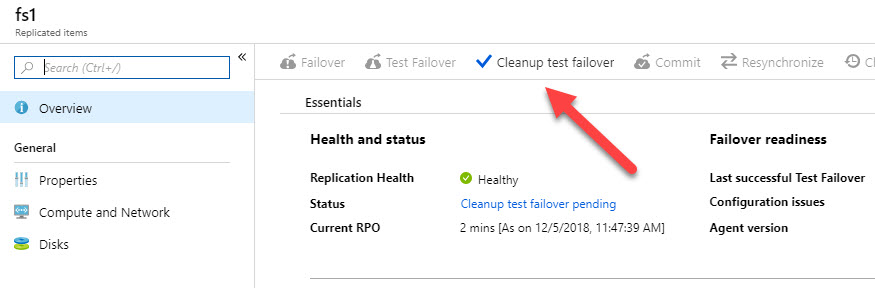
Select Testing is Complete.
After some time, all system regain protected status and they are healthy.
Run a failover to Azure
Shutdown all Servers in source on-premises network
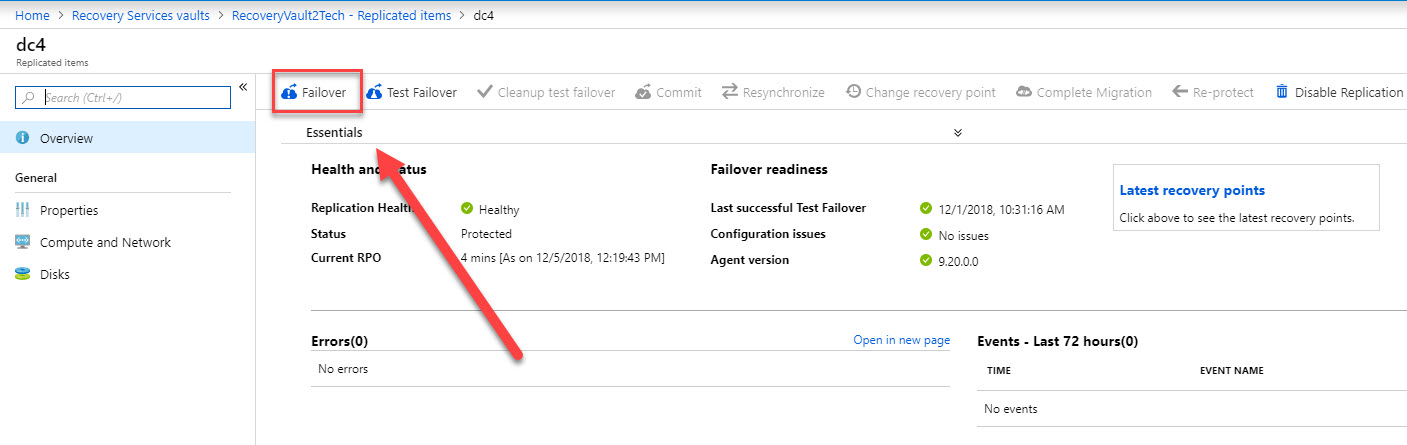
In Settings > Replicated items, click the VM > Failover.
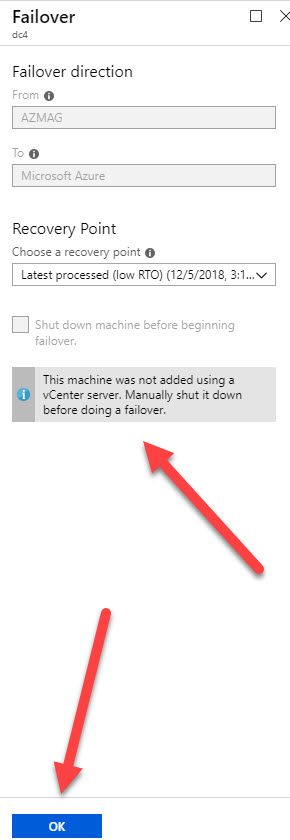
In Failover, select a Recovery Point to fail over to. You can use one of the following options:
Latest: This option first processes all the data sent to Site Recovery. It provides the lowest RPO (Recovery Point Objective) because the Azure VM created after failover has all the data that was replicated to Site Recovery when the failover was triggered.
Latest processed: This option fails over the VM to the latest recovery point processed by Site Recovery. This option provides a low RTO (Recovery Time Objective), because no time is spent processing unprocessed data.
Latest app-consistent: This option fails over the VM to the latest app-consistent recovery point processed by Site Recovery.
Repeat all this for all servers what are you falling over. I would recommend to failover domain controllers first.

After 30 min, you will see that failover is completed.
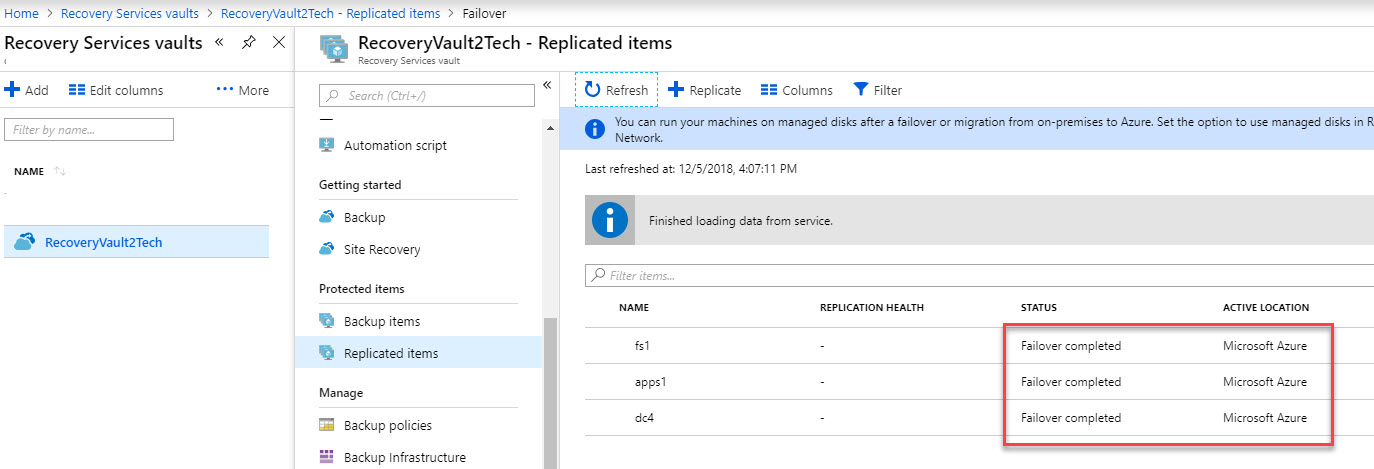
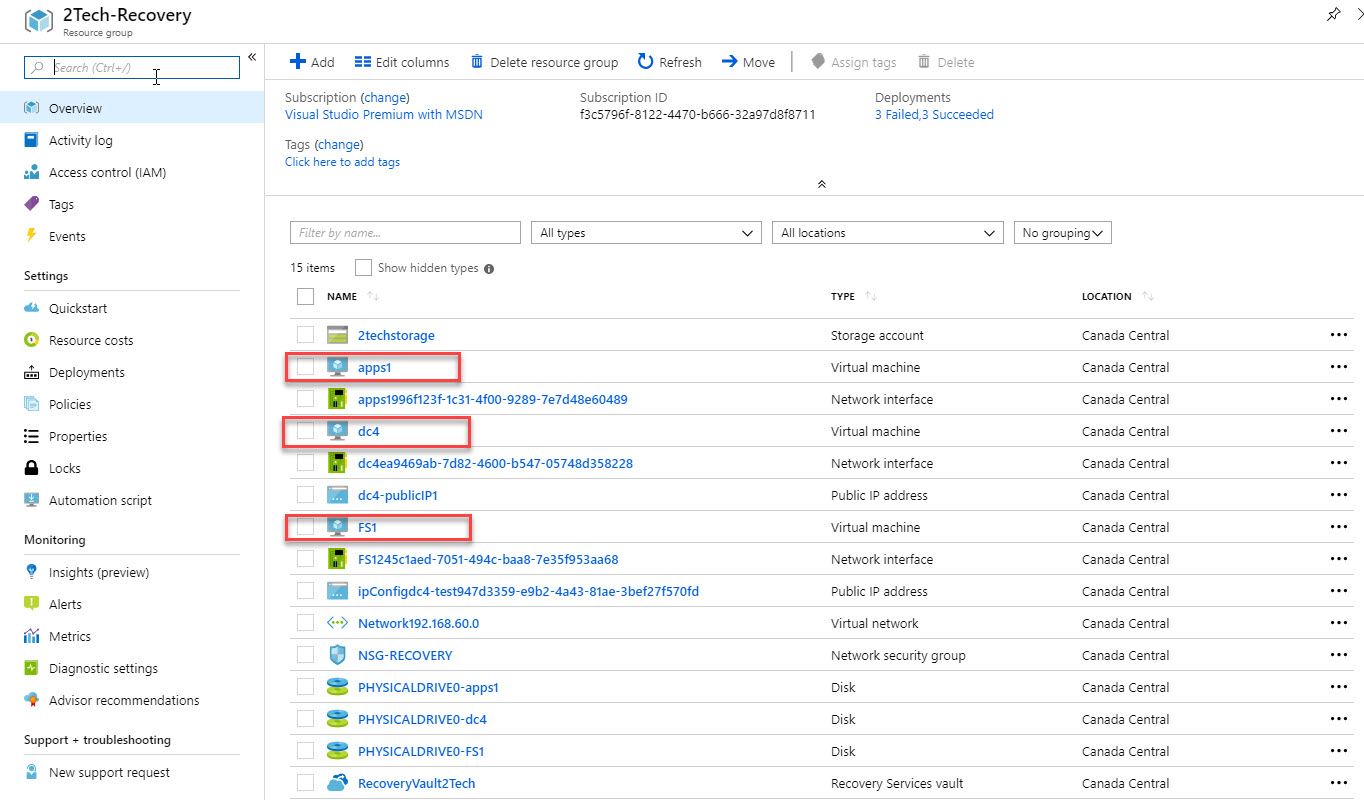
Navigate to Resource Group and you should see all migrated VMs.
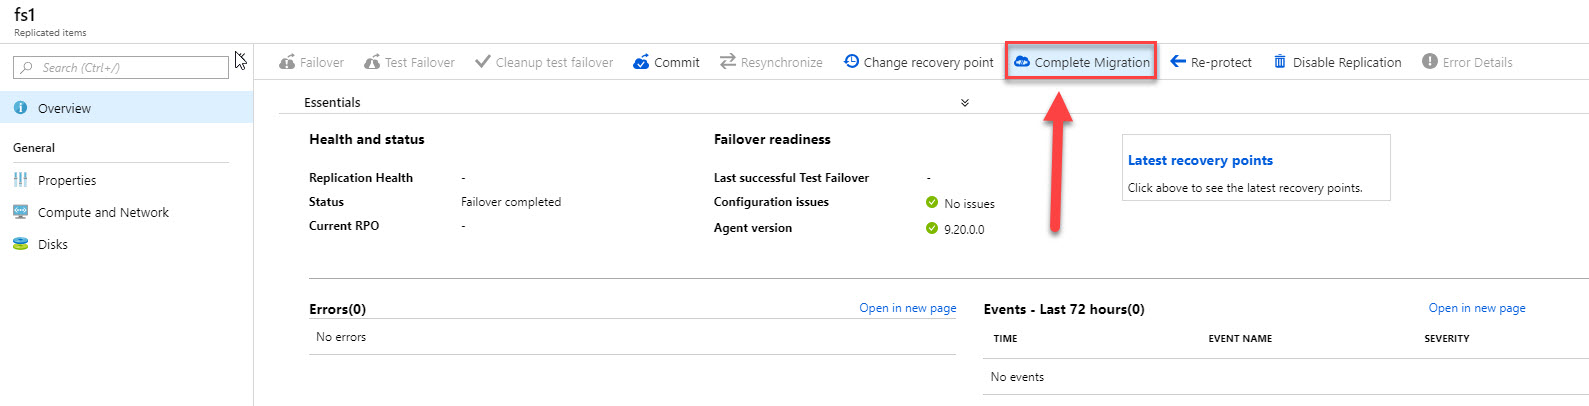
The very last step is to Complete Migration.
Completion of migration will disable replication.
In Settings > Replicated items, click the VM > Compleate Migration
This was two series step by site document which explains in simple steps how to migrate couple physical server to Azure.
I never try but I have feeling that any windows server regardless where is hosted can be migrated using those steps.
/Dan Djurasovic
Ottawa, Dec 2018